Showing posts with label tall pot. Show all posts

Sunday, September 18, 2011

Saturday - Muddy Fun and new work

This is the message from Meredith that greeted us this morning.  At least it's more positive than the last one.


Today was another Muddy Fun day at Clayworks.  Angela does a great job teaching this class and we always have a great group of volunteers to help our beginners.

Muddy Fun part 1

Muddy Fun part 2


Since we had a bunch of volunteers and my foot was hurting I sat down to throw some new pots.  I made a really tall (for me) crackle pot using phoenix and a craggy crunch pot.  I made a decision recently to try adding some eyeballs to my pots so I put one on the craggy crunch pot.  Who knows where this will lead --maybe whole faces.  We'll see.

I also paddled the "milk bottle" I made on Wednesday to make it square and collected some bisque pots from the shelf.


Tall with blue crackled slip.

Creepy?

You betcha.

I'm seeing this in a nice shino.


Ready for glazing.

This evening's message.
We're back to negative again.


.

Monday, February 14, 2011

The long and the short of it

Saturday I worked on that phoenix pot with the slightly dry neck.  I had wrapped the top lip with a wet paper towel and covered it with plastic from Thursday night until Saturday.  The wrapped part got nice and soft and I was able to flare out the lip but when I sliced it top to bottom, the neck pieces started separating.  Apparently it really was too dry when I assembled it.  I don't have any more pictures of it here, but I had to suture the neck to the body as well as the long cuts.  We'll see if the patient survives.


 Pot with the paper towel triage.


I sliced the pot I made before the dry one and when I made the first slice the piece was still rather wet so I wrapped it with a plastic tie and let it rest a while.  When I got back to it later it was actually more dry than I wanted to be, but I sliced.  It's hard to judge the moisture in Winter with the heat running.

Sliced and diced.


Close-up of the sutures near the bottom.


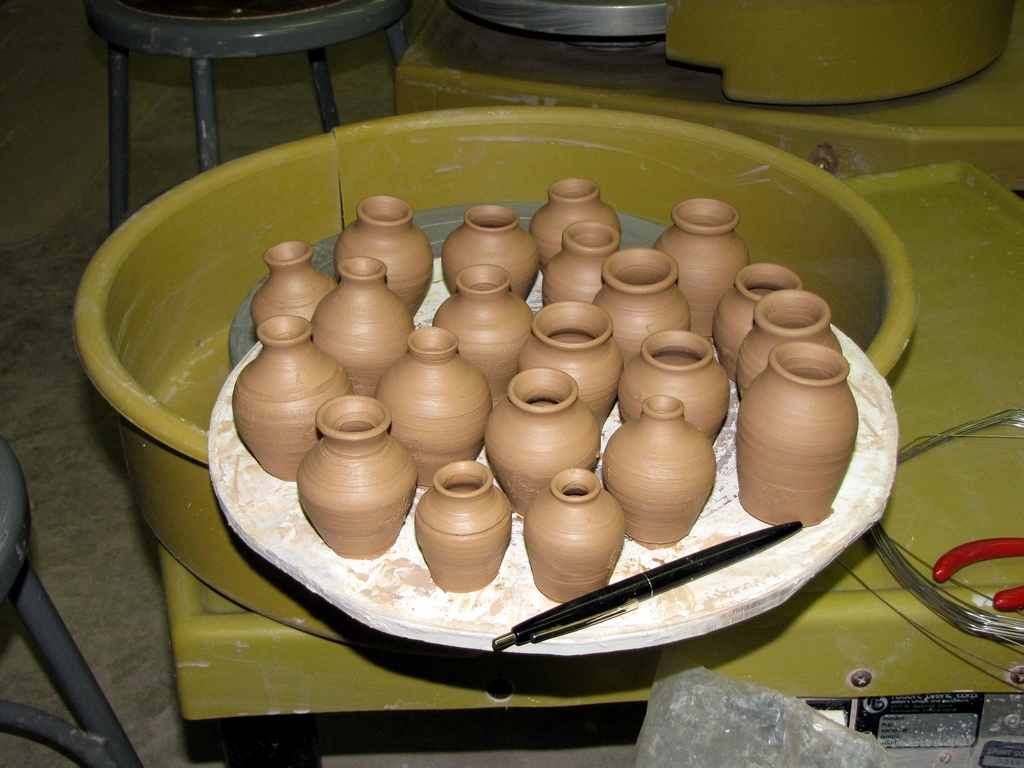
I also made 21 orangestone baby pots.


.

Sunday, February 13, 2011

More Tall Pots

I started another tall pot that I plan on slicing top to bottom and suturing.  Unfortunately this one was a bit wet when I finished the pieces and I let it dry for a while to firm up while I threw some other pots.  The neck dried a bit more than I had planned so I attached it, but couldn't flare the top lip out since it was so dry.

I wrapped the top of the neck with a wet paper towel and covered the whole thing in plastic to work on it later.

Saturday, February 12, 2011

Another Tall Pot

In October 2010 I made a tall pot using phoenix and sliced it into quarters (top to bottom).  I then pieced it back together and put some nickel-chromium sutures in it.  I sprayed it with some oxides and rutile, then sprayed a few light passes with clear glaze.  It came out great with a warm, almost wood-fired look to it.  I really liked it though several friends were not comfortable with it.

I sold it in November at the Concentrix terra4m sale and felt validated:  someone else liked it too.  After selling it I decided I was going to make some similar pieces in the future.

On February 5, 2011 I was working on another one and before I could slice it into quarters, a friend offered to purchase it if I didn't slice it.  I was still determined to make more "broken vessels" so I resigned myself to start another one as soon as I could.

The next day I received an email from the person who purchased the original piece asking if it was one-of-a-kind or if I might have similar pieces.  He wants to buy a piece for a friend.


Apparently this is a popular (and somewhat classic) form.  I see more of these in my future.


Even in the midst of all this commerce there exists a conundrum in my own mind.  The first one I made (on the left) has a nice shape, but doesn't really adhere to the rule of thirds.  The neck is too short to be a third of the overall pot.  On the next one I really paid attention to the height of the neck and even though it is closer to a third of the pot, I like the first one better.  I guess some of the "rules" are more like "guidelines" when the clay hits the bat.

I was also struck by the (accidental) almost identical height of the two pieces.  It's funny how the mind works on a subconscious level when making similar forms.


.

Friday, April 24, 2009

2009-04-22 Wednesday Tallest Pot Yet

I finished up my tallest pot to date on Wednesday by throwing a neck and attaching it to the body. It was a tricky process because it was my first one --I hope it gets easier and quicker if I make some others. Thanks to Greg Scott and Leon Nichols for all their advice and Chuck for inspiring me with his great pot.

The only problem right now is that the pot is 26" tall and the electric kilns are 25" tall. It should work out since the pot will shrink a bit as it dries and we can take out the bottom kiln shelf since there is no glaze to drip on it. If not, we can lean it over for the bisque firing. We'll make it work.

The neck is thrown.


The neck is installed.


The culprit at the scene.


Nick and Nat with words of encouragement.